Tuning the Guitar
One of the most frustrating aspects of playing guitar for new students can be learning how to tune. Most understand the mechanics of how to adjust the tuners to change the pitch of the string, but there is always a question about whether or not it was done properly.
The first recommendation we would make to you is to purchase an electronic tuner. Digital tuners can be purchased for about $10 and up so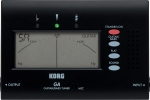 should be within any budget. They are easy to use and battery operated so they can be taken anywhere. They are
  also very accurate and, if used properly, you can rest assured that you will always be in tune.
Tuning is obviously important because and out of tune guitar will never sound right, so it is a good idea to get in the habit of tuning every time you sit down to play the guitar. Strings have a habit of going sharp or flat in reaction to environmental and temperature changes and a guitar that was in tune yesterday may very well have slipped out today.
In case you are unfamiliar with the mechanics of tuning, there are 6 “tuners” attached to the headstock of the guitar, and a string is attached to each of these tuners. (Refer back to the page on “Parts of the Guitar”)
By turning the knob of a tuner in one direction you will tighten the string and cause the pitch of the note to go higher (sharp), and by turning the knob in the opposite direction you will loosen the string and cause the note to go lower (flat). When using an electronic tuning device we simply adjust the tuner (on the headstock) of the string until the meter or needle of the electronic tuning device indicates the string is in proper pitch.
If an electronic tuner is not available, or your batteries go out, it is good to know how to tune your guitar the “old school” way. Manually by ear.
The first step in tuning the guitar manually is to get a reference note for at least one of the strings on the guitar, preferably the low E string, but any string will do. You can get a reference note from a piano, pitch pipe or tuning fork. You can also go online at various sources.
In this example we will assume that your low E (6th string) is in proper pitch and now all we must do is match the other stings up to that.
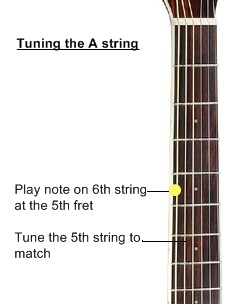 Once the low E is in tune, play the note that is on the 5th fret of the low E string. That note (which is an A) should sound exactly the same as the open 5th string (our A string). If the open 5th sting sounds different than the note on the 5th fret of the low E string then adjust the open A (5th) string until it sounds the same.
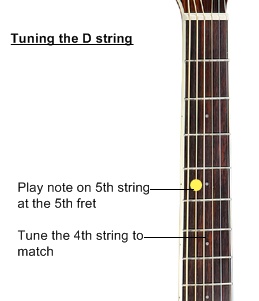
Once the open A (5th) string is in tune simply repeat the process on that string by playing the note on the 5th fret of the A string to get the proper pitch for the D or 4th string.
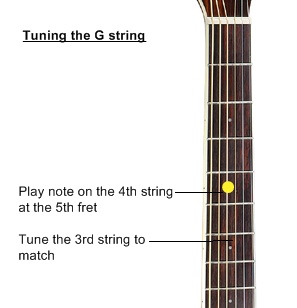
Once the open D (4th) string is in tune repeat the same process again, this time playing the note on the 5th fret of the D string to get the proper pitch for the G (3rd) string.
By now you can see a pattern developing in the tuning process but in this next step you will make one minor change.
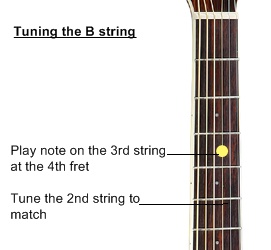 Once the G (3rd) string is in tune, play the note on the 4th fret (not the 5th!) to get the pitch for the open B (2nd) string. This is the only different one to be concerned with.
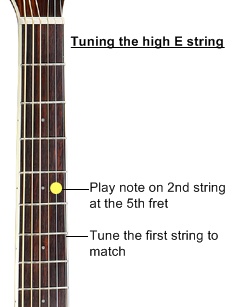
And lastly, once the open B (2nd) string is in tune go back and play the note on the 5th fret of the B string to get the pitch for the open E (1st) string.
This is a little more work than using an electronic tuner, but try to practice this method and get used to it because it will really help train your ears to hear the notes on the guitar. It will also come in handy if something happens and you find yourself without your electronic tuner.
Just keep working at it and before you know it you’ll be tuning your guitar like a pro!
