How to Read TAB
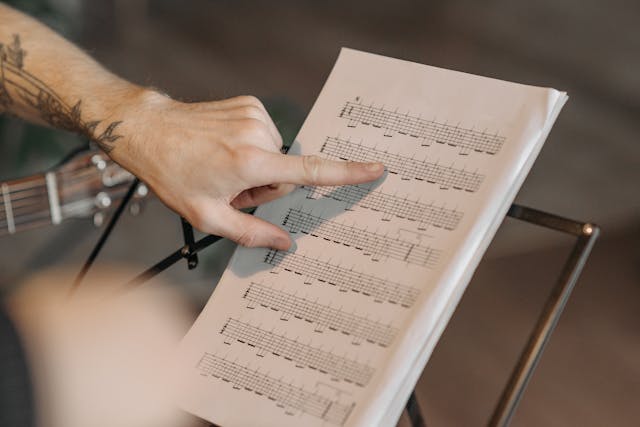
Tablature, or TAB for short, is a simple means of notating guitar licks, riffs, chords and scales without having to read musical notes on a staff.
Tablature is laid out in a format of six horizontal lines, each representing a string on the guitar. The top line on a TAB represents the 1st string or high “E” string.
The horizontal line on the bottom of the TAB represents the 6th string or low “E” string.
A TAB diagram is not to be confused with a Chord Diagram, which is designed to show the formation of chords only, and is laid out in a different format. See “Reading Chord Diagrams”.
There are numbers on a TAB diagram that represent the “fret” that is to be played. (not the fingering) For example – the number “2” on the vertical line that is the third one down from the top, would indicate that the 2nd fret of the 3rd string is to be played.
TAB diagrams are read from left to right. The first note in the piece is the note on the far left, and the following notes are played sequentially, from there to the right.
Look at the following TAB diagram.

In the first measure of the above TAB, the first note is the open 6th string – followed by the note on the 2nd fret of the 6th string – followed by the note on the 3rd fret of the 6th string. Then the riff moves on to play notes on the 5th string, and finishes the riff back on the 6th string.
The second measure of the above TAB example shows what a chord looks like when notated on TAB. In this example there is also a chord diagram above the TAB.
The third measure of the above TAB example shows which strings on the guitar the vertical lines correspond to.
Now take a look at the next TAB example below.

The first measure above illustrates a descending “E” pentatonic blues scale. In this example, the first note is on the 3rd fret of the 1st string – followed by the note on the open 1st string – followed by the note on the 3rd fret of the 2nd string – followed by the note on the open 2nd string – and so on.
The second measure above illustrates the notation for a “Hammer On”, as indicated by an “H” – a “Pull Off”, as indicated by a “P” – and a string bend, as indicated by an “up” arrow. The “1/4” next to the arrow indicates the “degree” of the bend. In this case you would do a “quarter” bend on the 3rd fret of the 6th string.
In our lessons course you will see TAB quite a bit and you probably already realize what a great way this is to communicate licks, riffs, chords and scales in “guitar talk” so that any guitarist reading it would understand.
Take a moment to get familiar with TAB notation and please do not hesitate to contact us with any questions!


